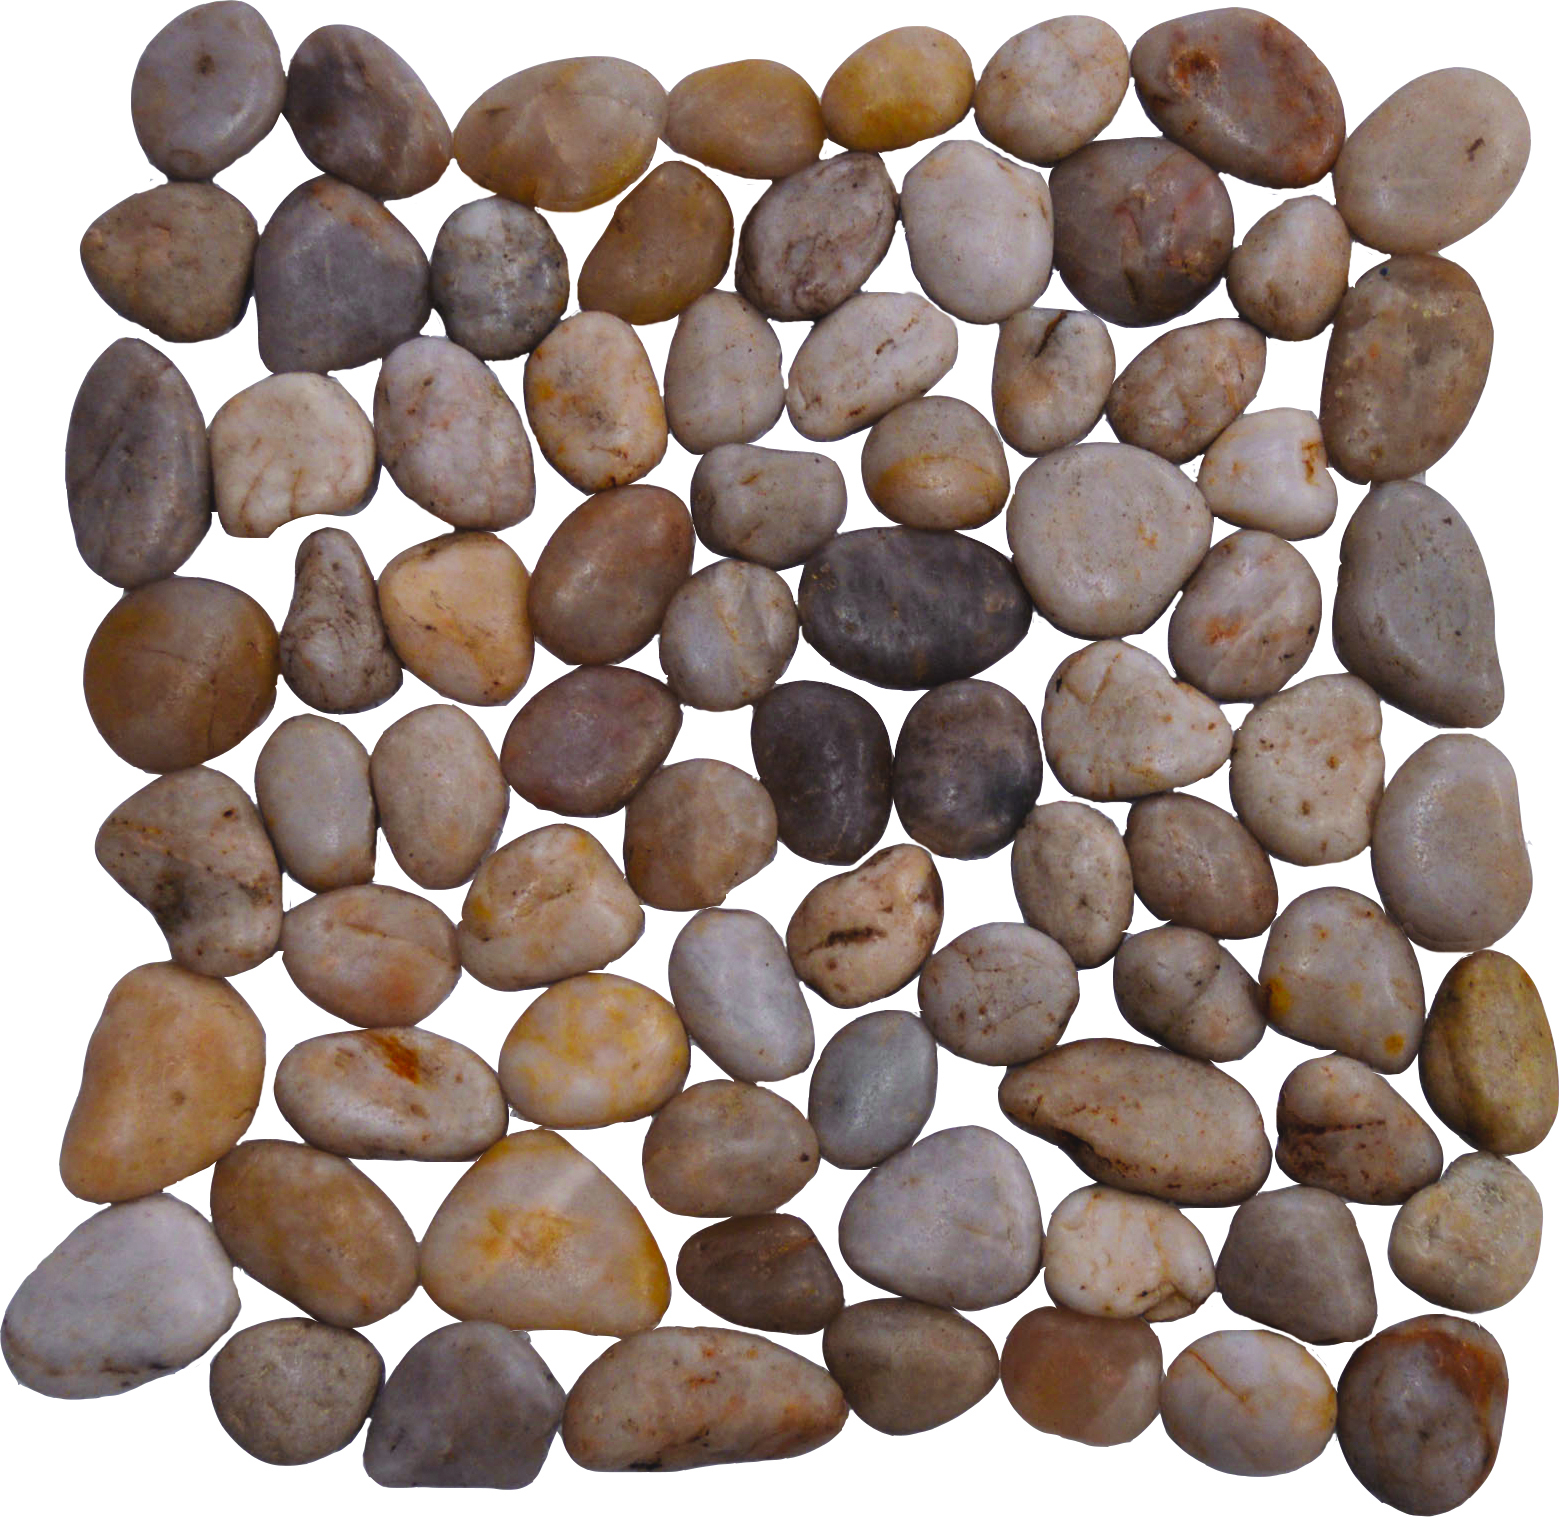
Polished White Pebble Tile
Subtle whites, greys, yellows, and tans make up this gorgeous polished pebble tile. The neutral tones of this tile allows for a seamless addition to many different color schemes.
| Size | SKU |
| 12″ x 12″ | PT-P-WH |
Download Polished White Cut Sheet
Download Pebble Tile Installation Guide
DISCLAIMER: This is a general guideline only. Please consult a tile installer if you have any
questions or have never installed before.
Materials:
• Notched trowel
• Thin set mortar
• Natural stone and grout sealer
• Sanded grout
• Damp Sponge
• Rubber Float
Preparation: Area of application should be flat, clean and free of contaminants. For wet areas a reinforced waterproof membrane is recommended. Pitching a floor to a drain should have a minimum fall of 2 inches.
Installation:
- No two pieces of natural stone are exactly alike. All tiles must be inspected prior to installation to ensure that no blending is required. If you see a particular pebble on the tile that is not to your liking, simply remove it from the mesh backing and replace with a pebble from one of your extra tiles.
- Apply thin set mortar to desired area with notched trowel. (no more than 3 SF at one time)
- Place tiles on mortar in interlocking pattern. At this point you can help the interlocking pattern hide the seams. Simply remove any pebble on the edge of the tile that may be placed incorrectly and move into desired place. Lightly tap the tile down; be sure all pebbles are in contact with the thin set.
- Seal the tiles with the stone sealer. Color and shine enhancers can also be applied at this time, if required or desired.
- Allow sealer to dry completely. (usually overnight)
- Apply a sanded grout on small sections at a time until entire area is covered. Thoroughly pack the grout into all of the gaps.
- Pull rubber float across the top of the pebble to remove most of the grout.
- Sponge off grout until desired look is reached. When grout completely dries (see grout instructions) seal the tile a final time. If dirty, clean tile before sealing.
SEALERS AND CLEANING
• It is recommended that the pebbles be sealed with a quality stone sealer before and
after grouting. Stone sealer is available at your local home center/hardware store.
Additional applications may be required in areas where there will be water.
• To maintain ease of maintenance of natural stone, it is recommended that sealants be
applied every 2 years.
• Whenever using sealants and cleaners, ensure you follow the manufacturer’s
recommended method of application.
• The pebbles can be cleaned with neutral mild detergents, a weak vinegar solution, or a
10% hydrochloric acid solution mixed with water. Apply with a stiff bristled brush and
then rinse off thoroughly with water.
• The porosity or water absorption in pebbles (natural stone) varies, and therefore
staining will occur in different degrees if the stone is unsealed. Consequently, any spills
should be cleaned quickly to lessen the degree of the stain. Sealers are highly
recommended.
Installation:
• No two pieces of natural stone are exactly alike. All tiles must be inspected prior to
installation to ensure that no blending is required. If you see a particular pebble on the
tile that is not to your liking, simply remove it from the mesh backing and replace with a
pebble from one of your extra tiles.
• Apply thin set mortar to desired area with notched trowel. (no more than 3 SF at one
time)
• Place tiles on mortar in interlocking pattern. At this point you can help the interlocking
pattern hide the seams. Simply remove any pebble on the edge of the tile that may be
placed incorrectly and move into desired place. Lightly tap the tile down; be sure all
pebbles are in contact with the thin set.
• Seal the tiles with the stone sealer. Color and shine enhancers can also be applied at
this time, if required or desired.
• Allow sealer to dry completely. (usually overnight)
• Apply a sanded grout on small sections at a time until entire area is covered.
Thoroughly pack the grout into all of the gaps.
• Pull rubber float across the top of the pebble to remove the majority of the grout.
• Sponge off grout until desired look is reached.
• When grout completely dries (see grout instructions) seal the tile a final time. If dirty,
clean tile before sealing.
We ship our pebble tile via UPS to job sites, residential addresses, and commercial locations nationwide as well as to Canada, Mexico, Alaska, and Hawaii. For larger quantities we ship using our national network of LTL carriers.
For any LTL residential delivery, our contracted carriers will provide you with a delivery appointment window as well as a lift gate on the truck to deliver your order curbside at your address. Once delivered, you or your contractor will be responsible for the final placement installation of the pebble tile.
For larger shipments, we can ship via partial or full load flatbed trucks or via shipping containers on rail.

